
#32: Recreating Album Art: The Marías

Hey friends!
Happy Friday and welcome to another weekly phlog. Today is going to be a bit different because I’ll be showing you how I recreated this album art by The Marías! So, expect this phlog to be a bit more wordy and less focused on photography (most images will be from my iPhone to show you the process). Scroll through to the very bottom for the final image reveal! ✨
Now let’s get right into it 👁👄👁

I have been low-key obsessed with The Marías this whole year and have listened through this specific album more times than I can count (album is called CINEMA). And to show my love for the artist, I wanted to recreate the album cover above! 👆🏼


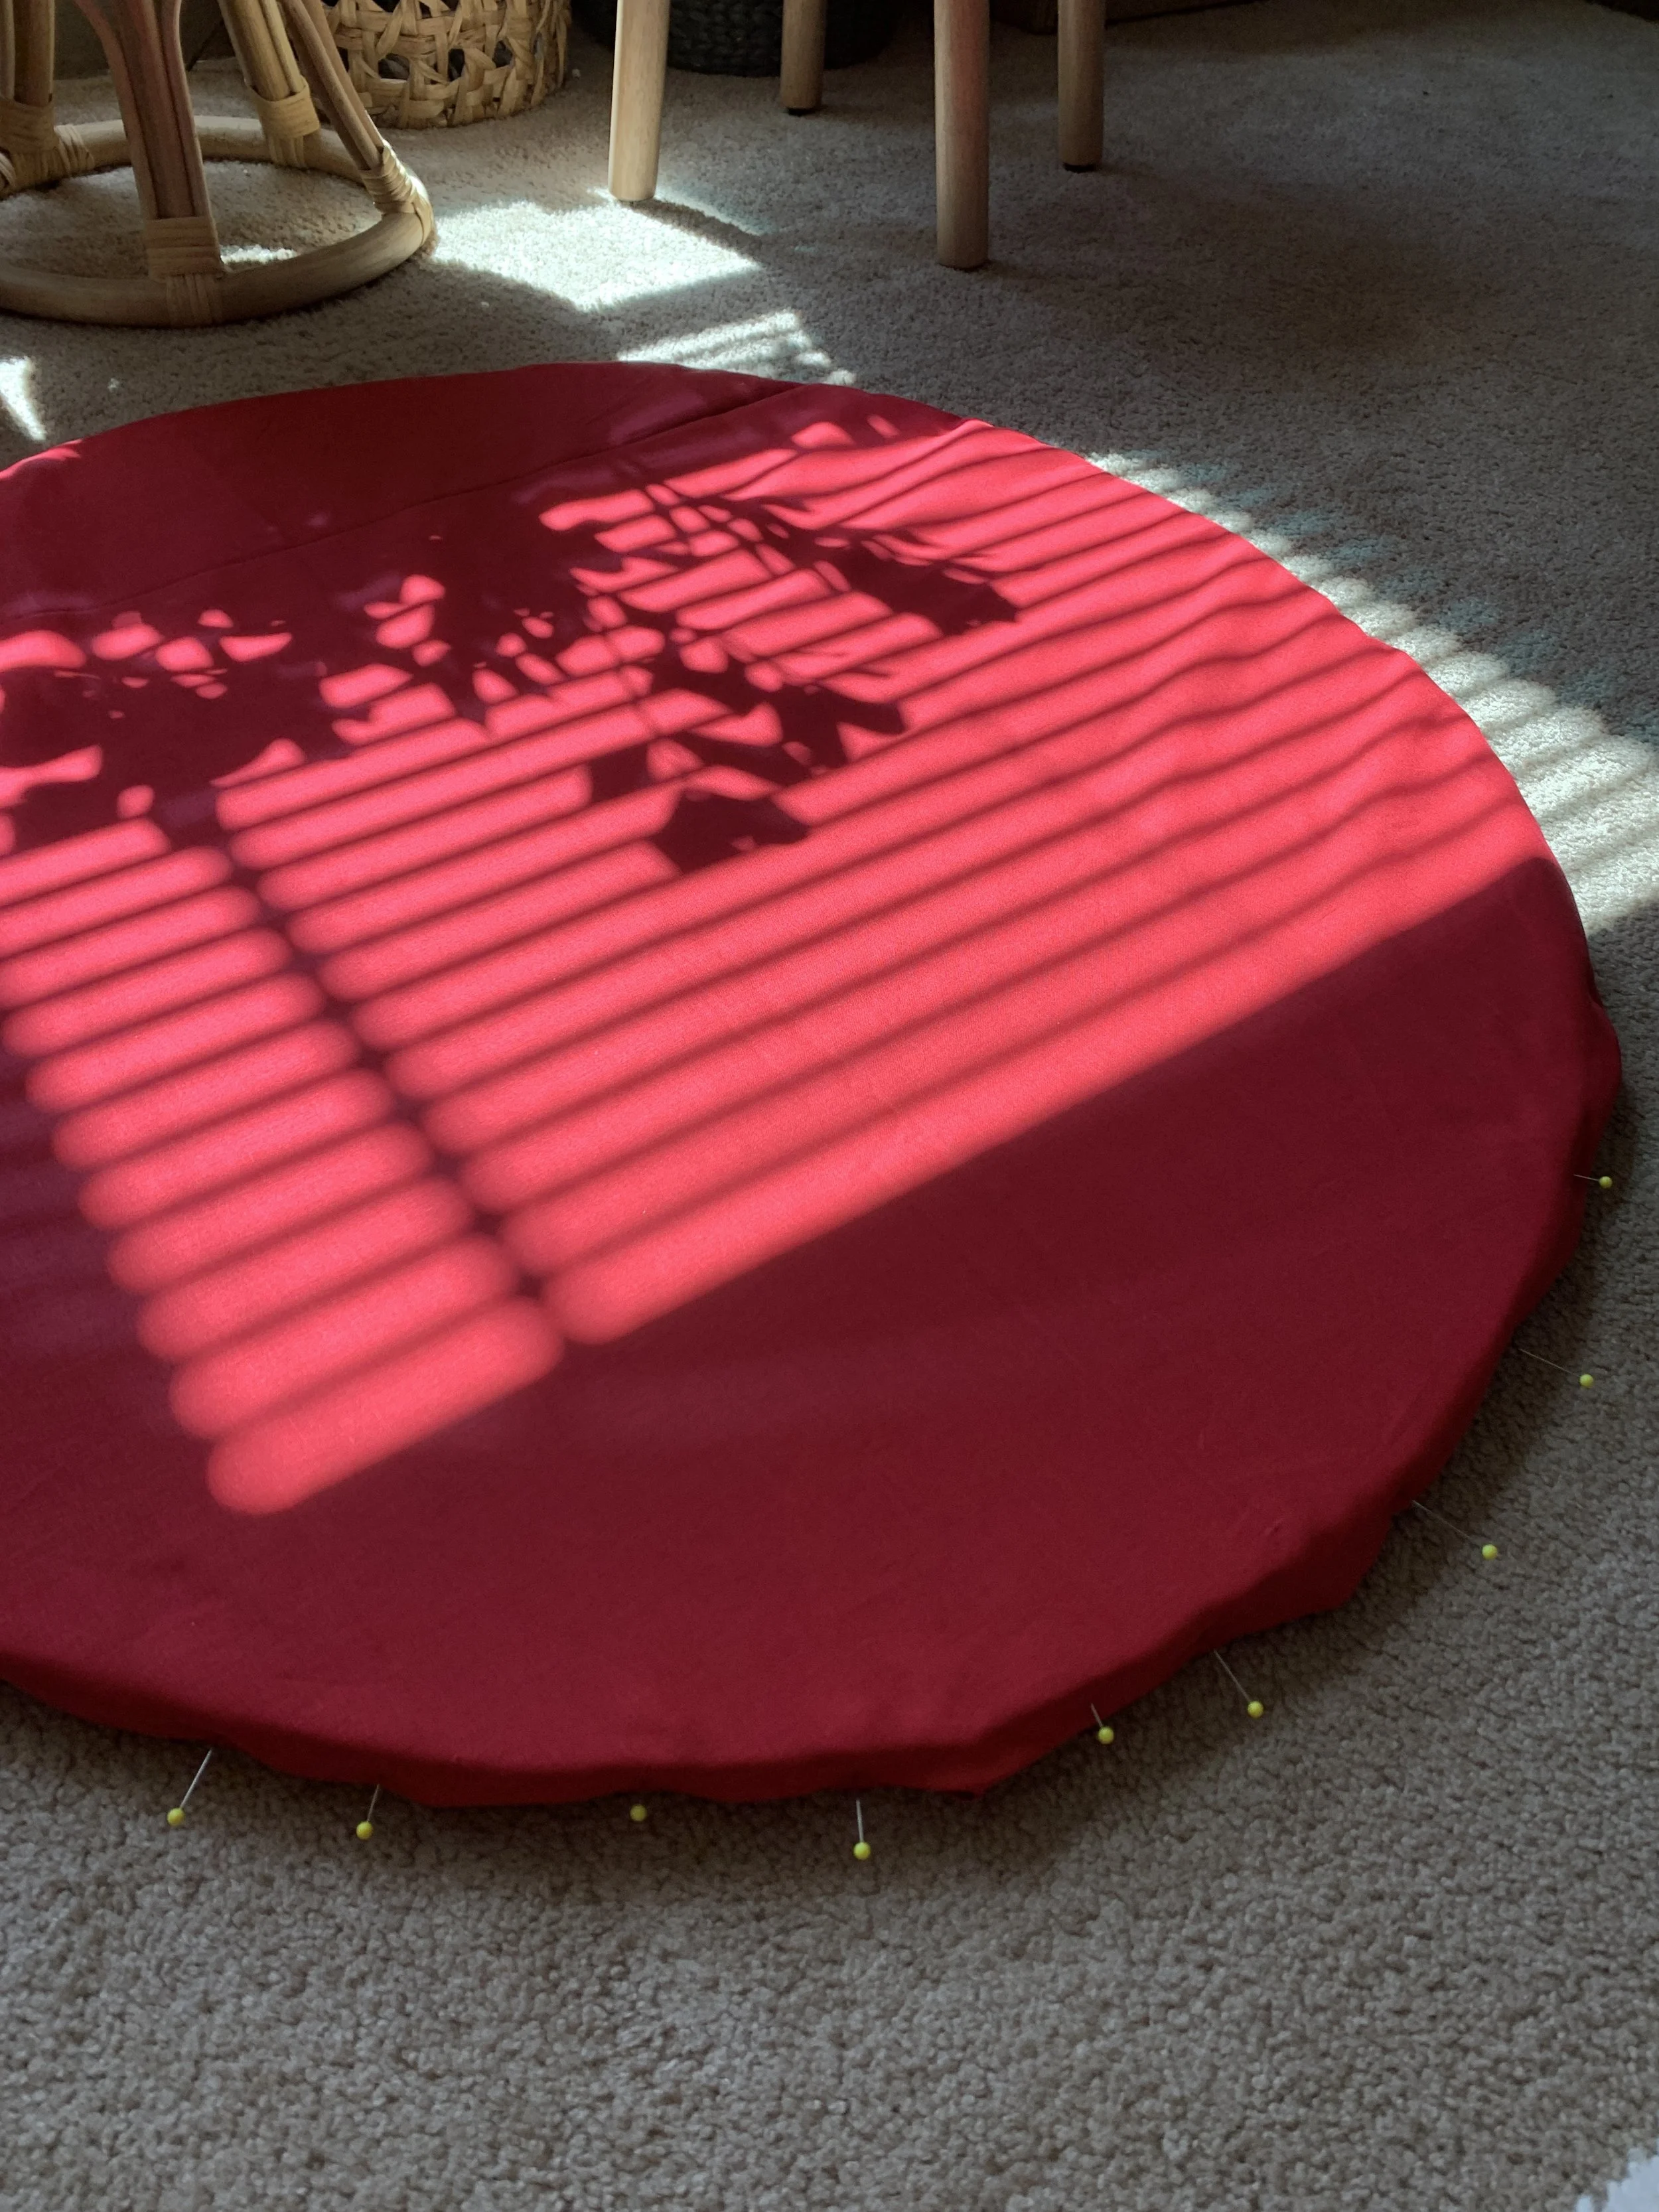

Part One: Making the Pillow
I got 4 of these square chair pads from Joann, placed all 4 together to make a square, and traced a big circle. I cut where I traced to form four-quarters of a circle. I then hot glued the pieces together to form one giant circle. With the red fabric I had, I made a pillow case to cover the foam. The final size of the pillow was 35”!


Part Two: Making the Backdrop
This part was super easy! I purchased ~22 feet of fabric. I know that’s a lot but I’ll explain why! The width of the material was too short for the backdrop. So I cut it in half and sewed the pieces together. I ended up with 11 feet long and 8 feet wide of fabric! Perfect for my backdrop 👌🏼


Part Three: Shoot Time!
And now the fun part!! I will say there was a 3-month gap between making the photo props to having the actual shoot. (1) We were moving into our new house and (2) I felt super pressured (from myself) because I was afraid the outcome wasn’t going to be good enough/not even close to the album art. Finally I realized that I need to go into the shoot without expectations and just have fun with it. So here are some of the pictures from that 🙃

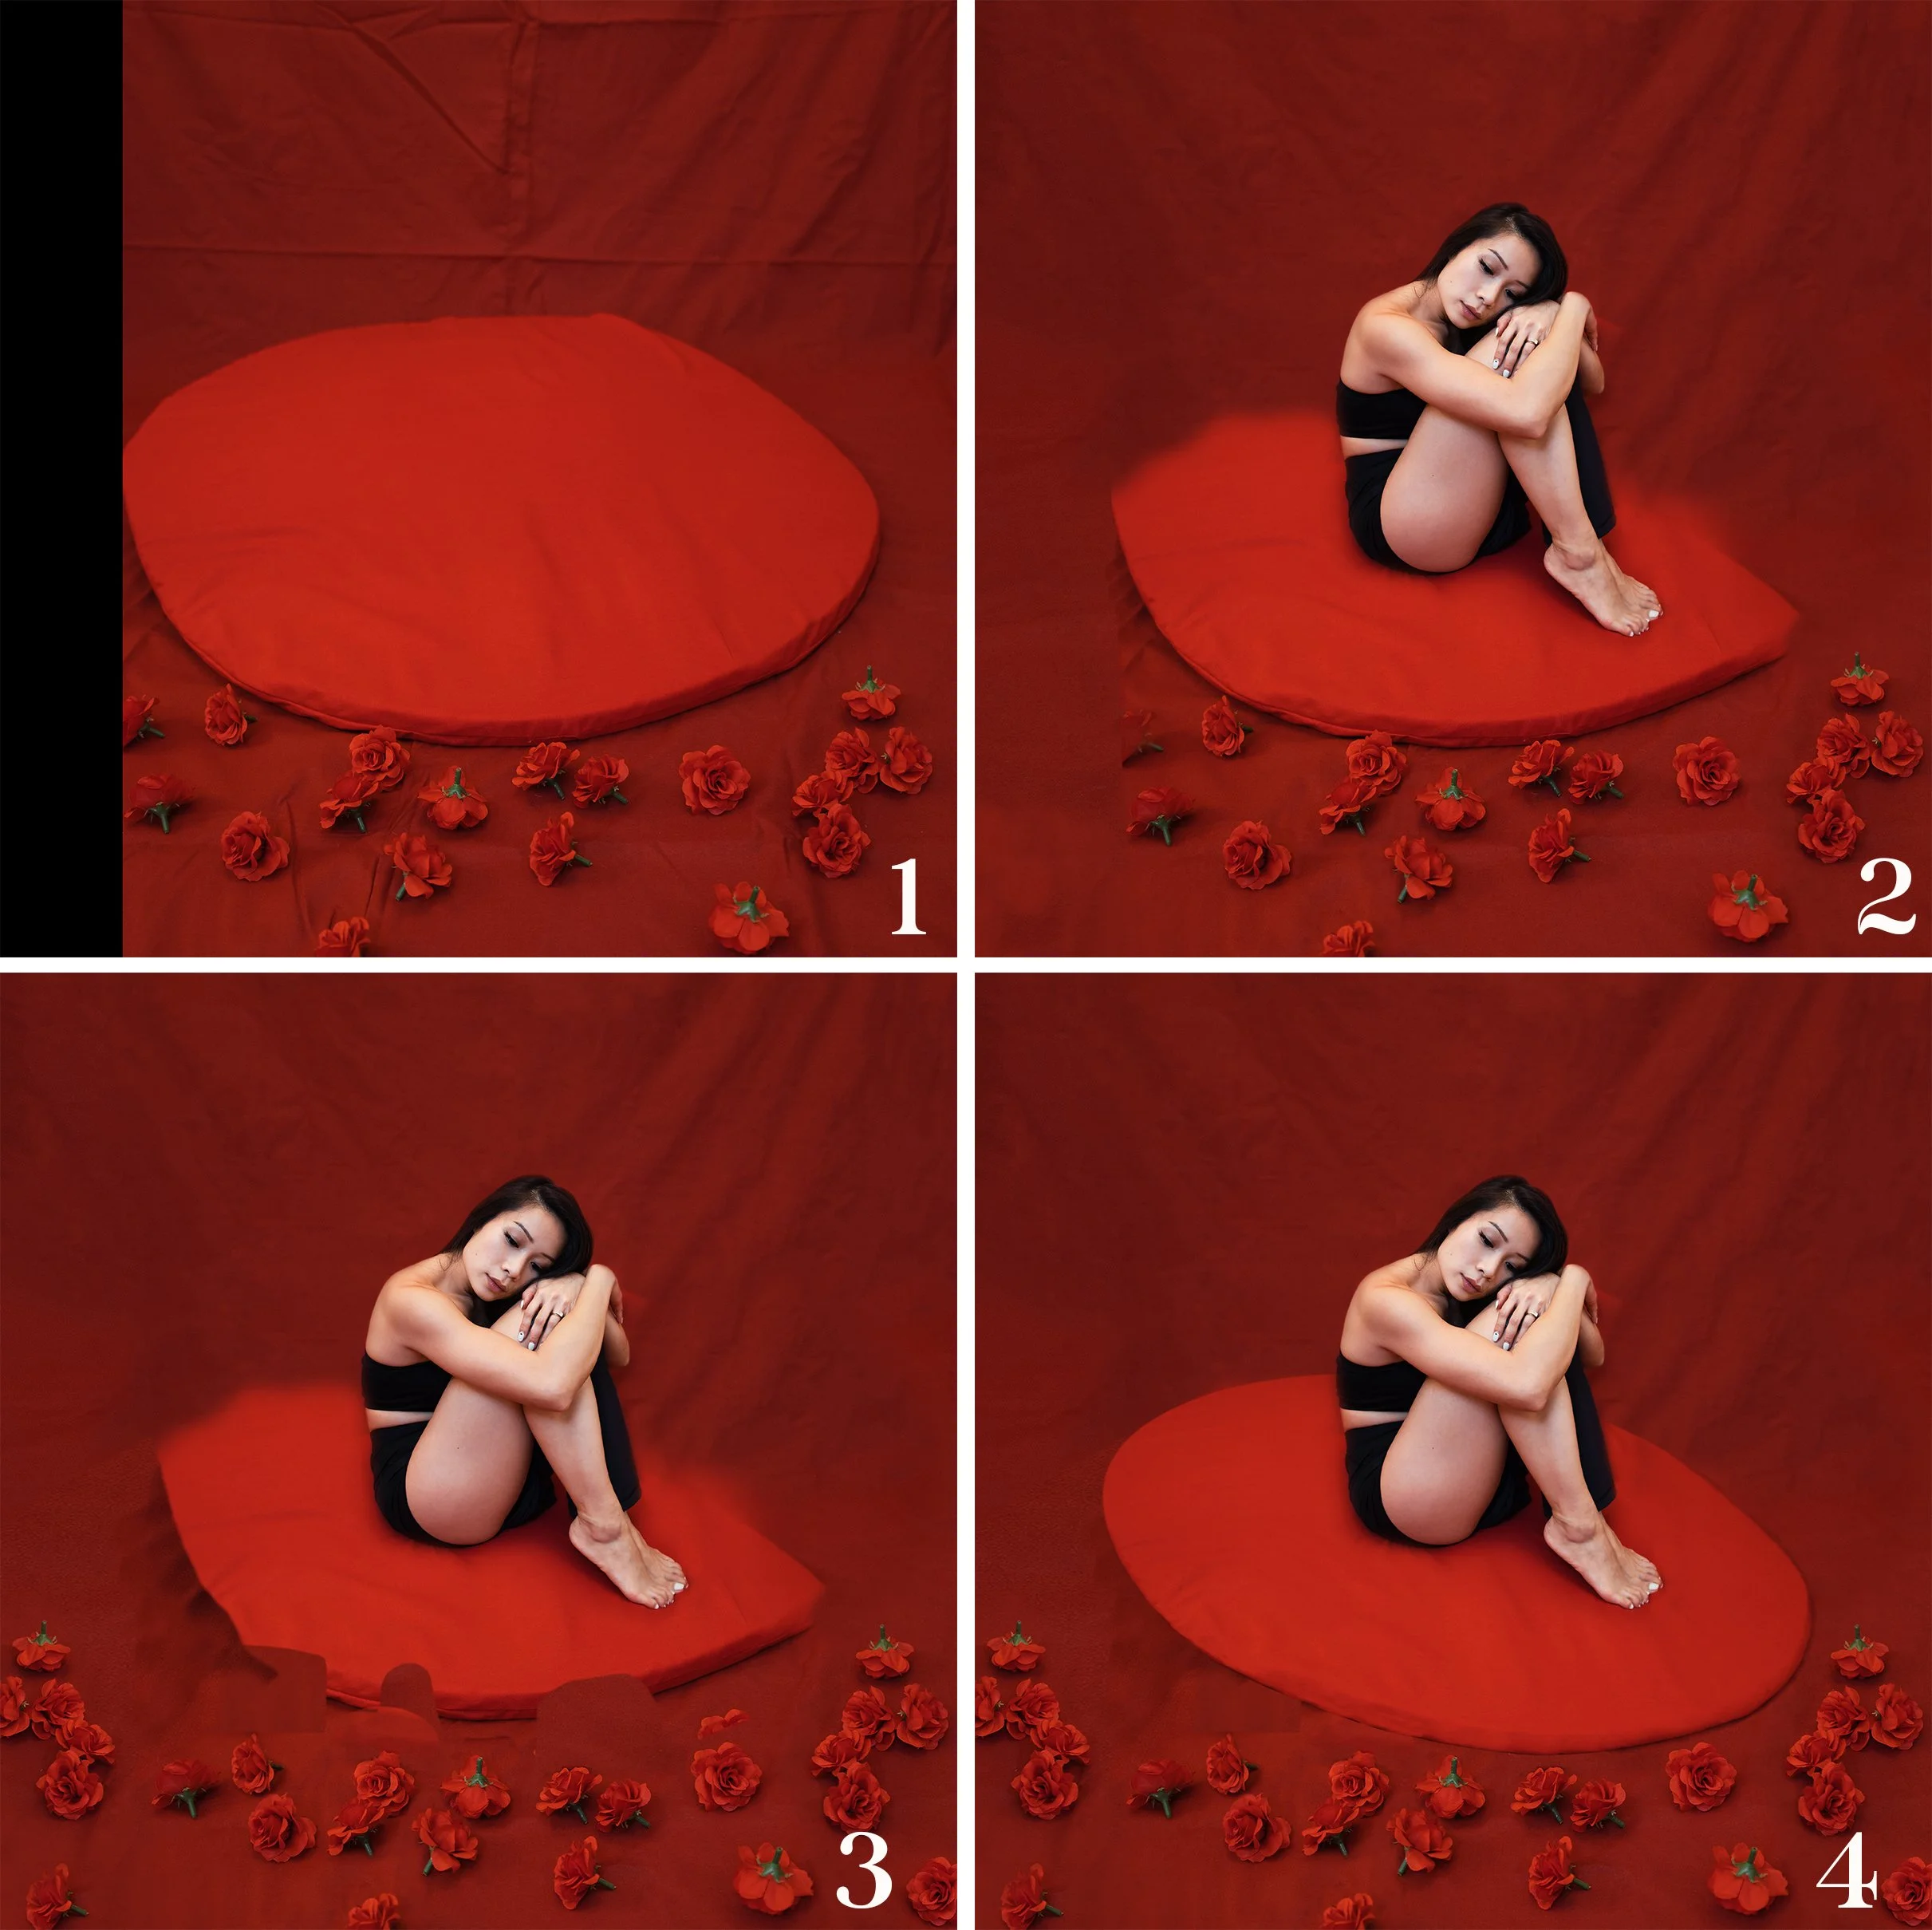
Part Four: Editing
Aw man this was also the fun part too and probably my favorite part 😆 After editing the colors/lighting in Lightroom, I picked these 2 images to be the ones to recreate the CINEMA album art.
In-depth details on that process below 👇🏼
*fyi all edits were done in Photoshop! :)
Image 1: took picture 2 and placed it in a square format
Image 2: cropped out myself from picture 1 and placed it on picture 2. I smoothed out the wrinkles of the curtain and extended the curtain on the left by copying/pasting parts of the curtain on the other side (using primarily the clone stamp tool).
Image 3: copied/pasted additional flowers to fill up the space
Image 4: using the warp tool, I re-shaped the pillow to match the shape that’s on the album art. I also removed any wrinkles, creases, and stitch lines.

Image 5: added some shadows and highlights on the pillow (burn tool for shadows; paint tool for highlights)
Image 6: added a faux shadow underneath the pillow using the paint tool
Image 7: changed the background using a gradient tool and warp + shape tool to create the curve in the background
Image 8: finally added a faux shadow underneath arm to create a more dramatic look
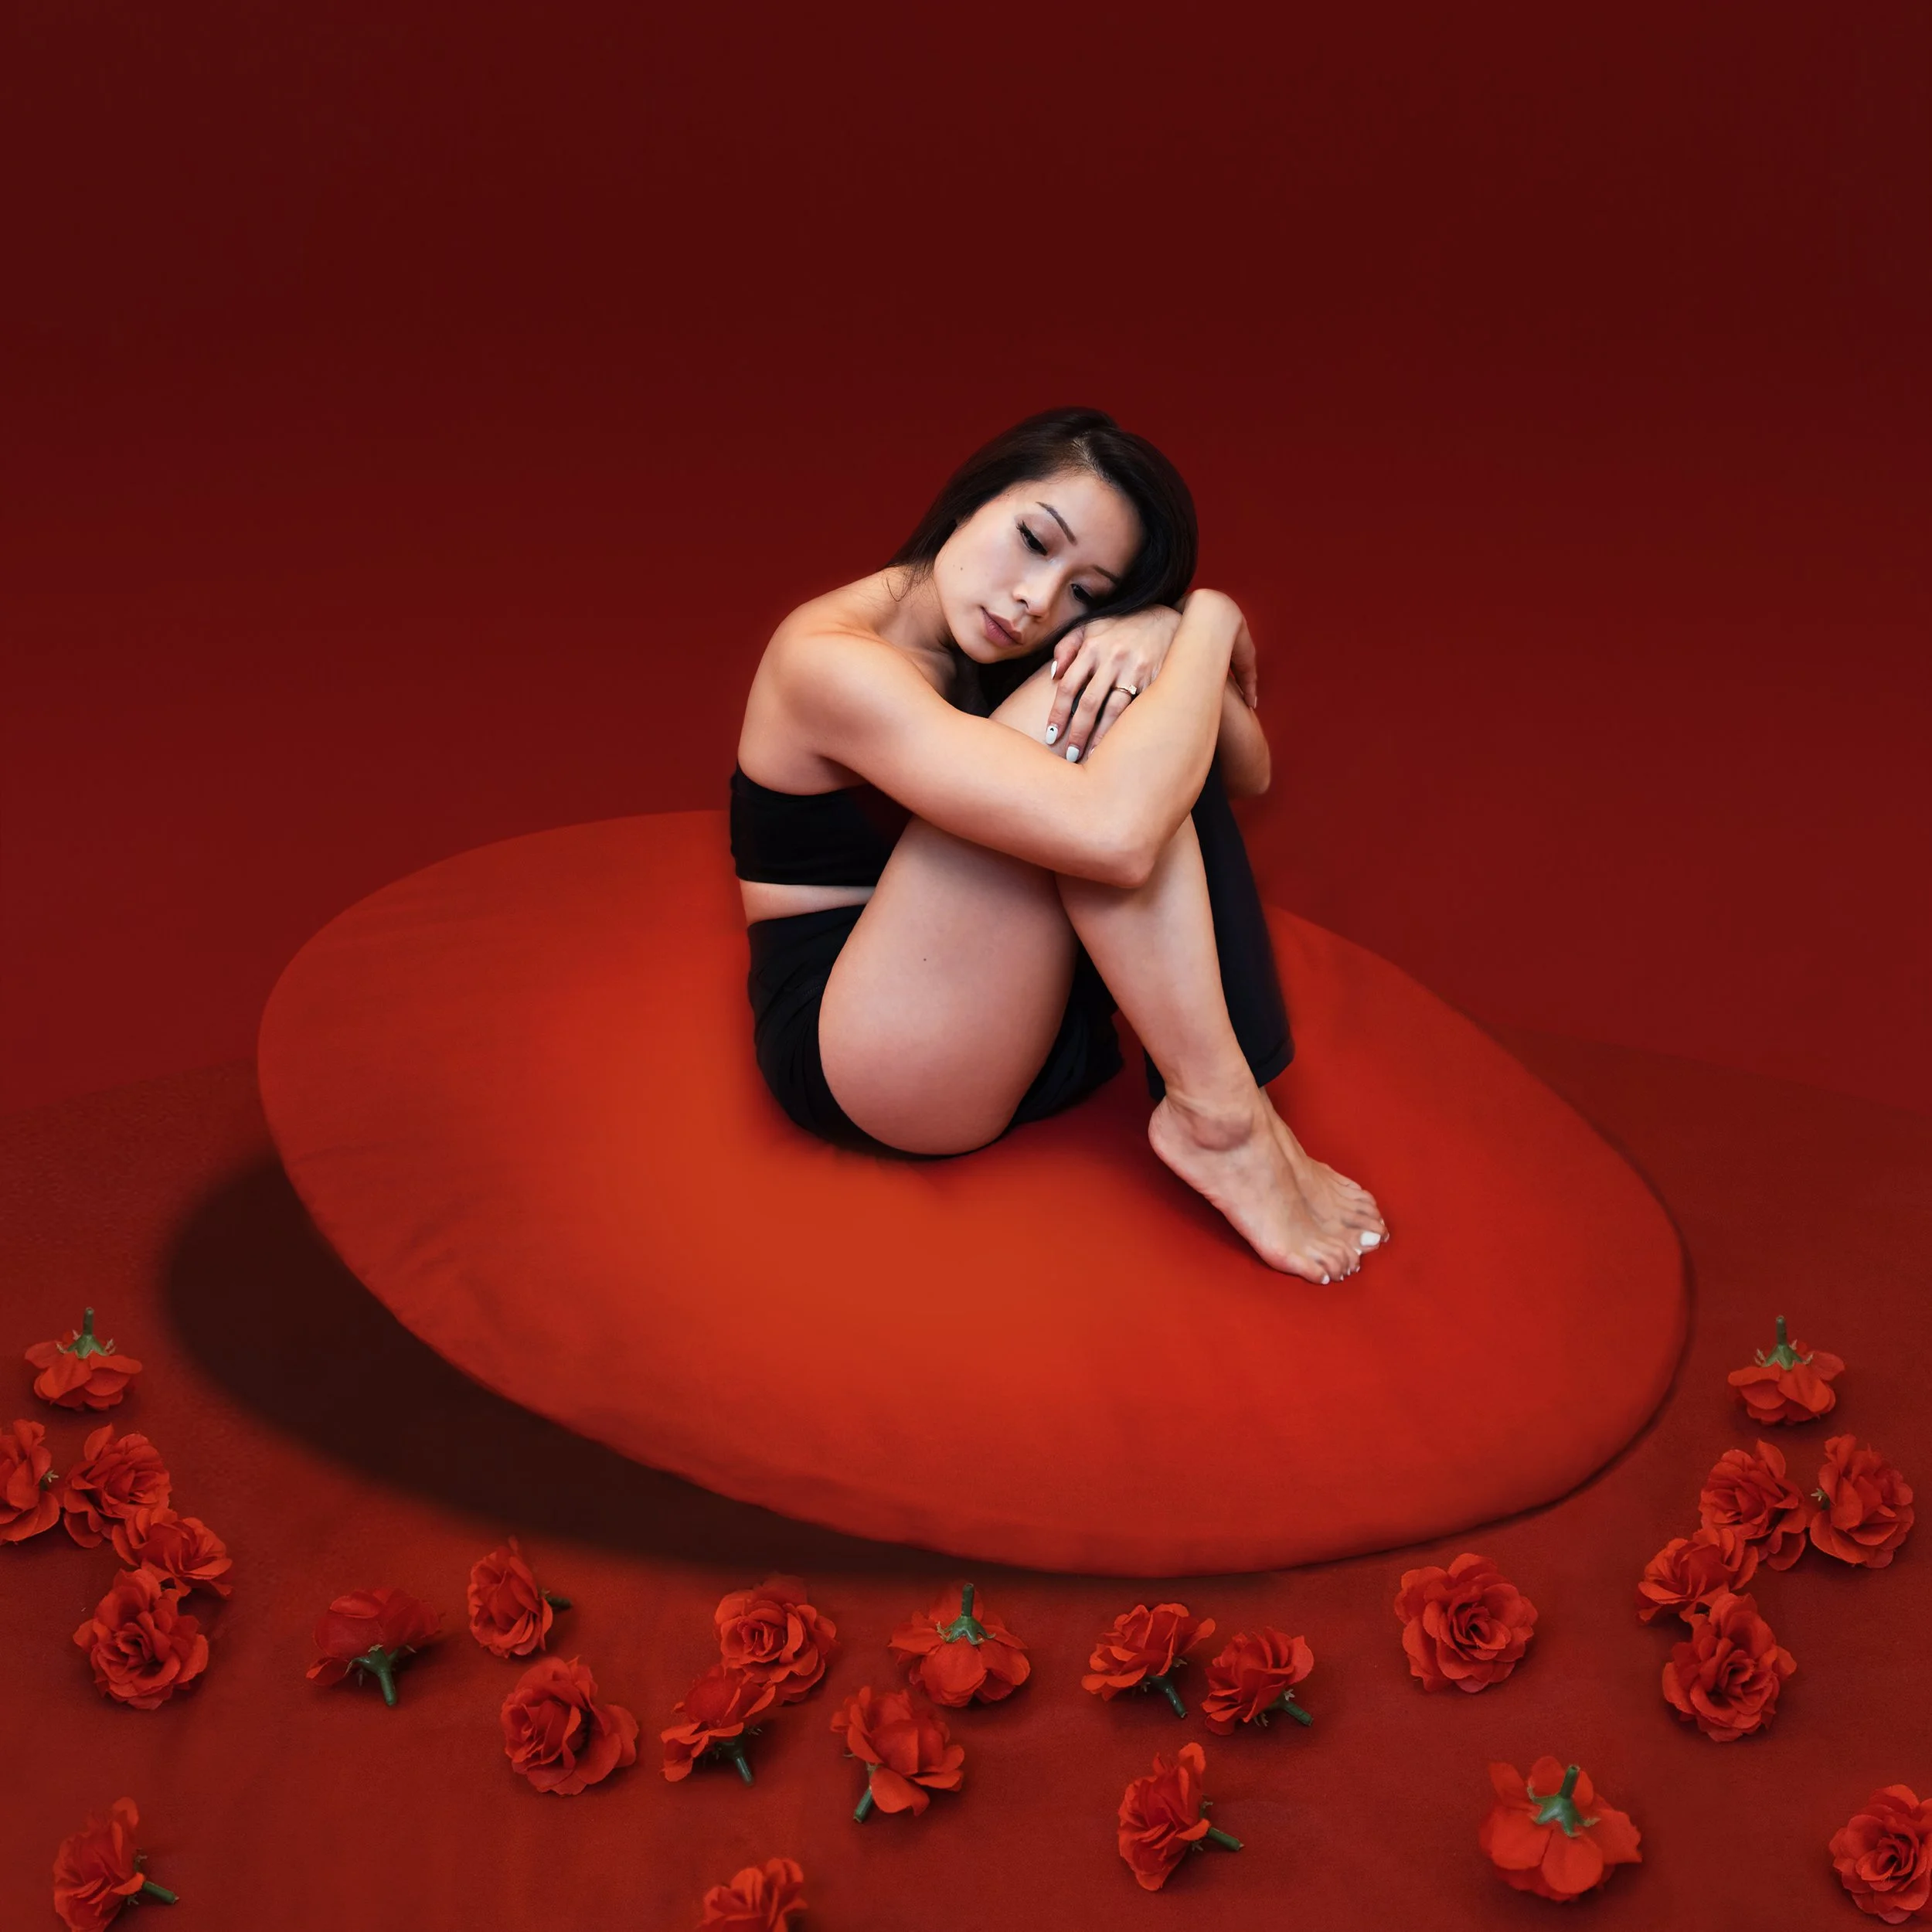
Ta-dah! ✨ Here is the final look ✨

And a side-by-side comparison!
I know my version isn’t exactly the same (sorry, I don’t have a swan lol), but this is just my take on it! The experience was challenging because of the prep work that went into the project plus I’ve never went hardcore Photoshopping like before, but I found the whole process rewarding and super fun.
If you enjoyed this and found recreating album art interesting, I would love to do more stuff like it! Let me know by filling out the form below. Your honest feedback or even recommendations on what I should do next would be appreciated. Or if you just love The Marías like me, we can just chat about our love for ‘em 🥰
Until next Friday! Stay golden 🌞